

 William
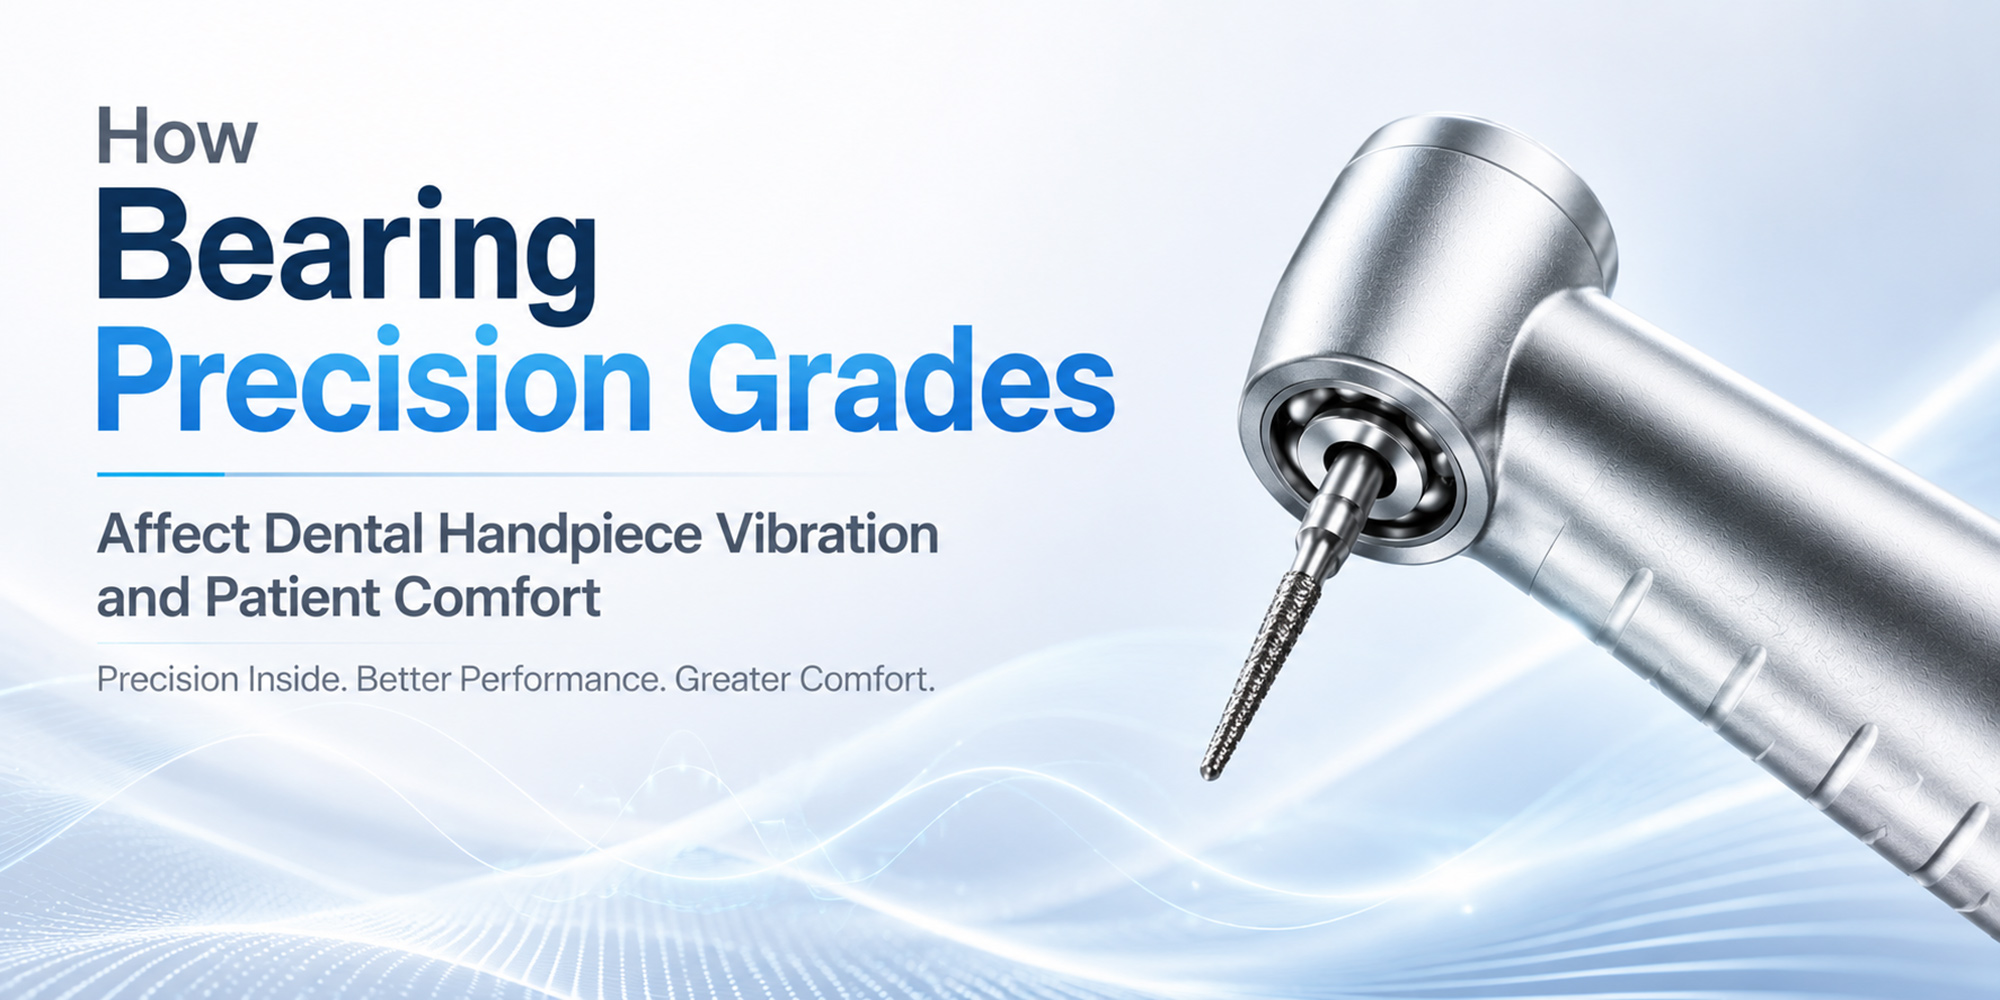
How Bearing Precision Grades Affect Dental Handpiece Vibration and Patient Comfort
Why Bearing Grade Is the Most Overlooked Factor in Handpiece Selection When dental clinics evaluate handpieces, they focus on brand reputation,...
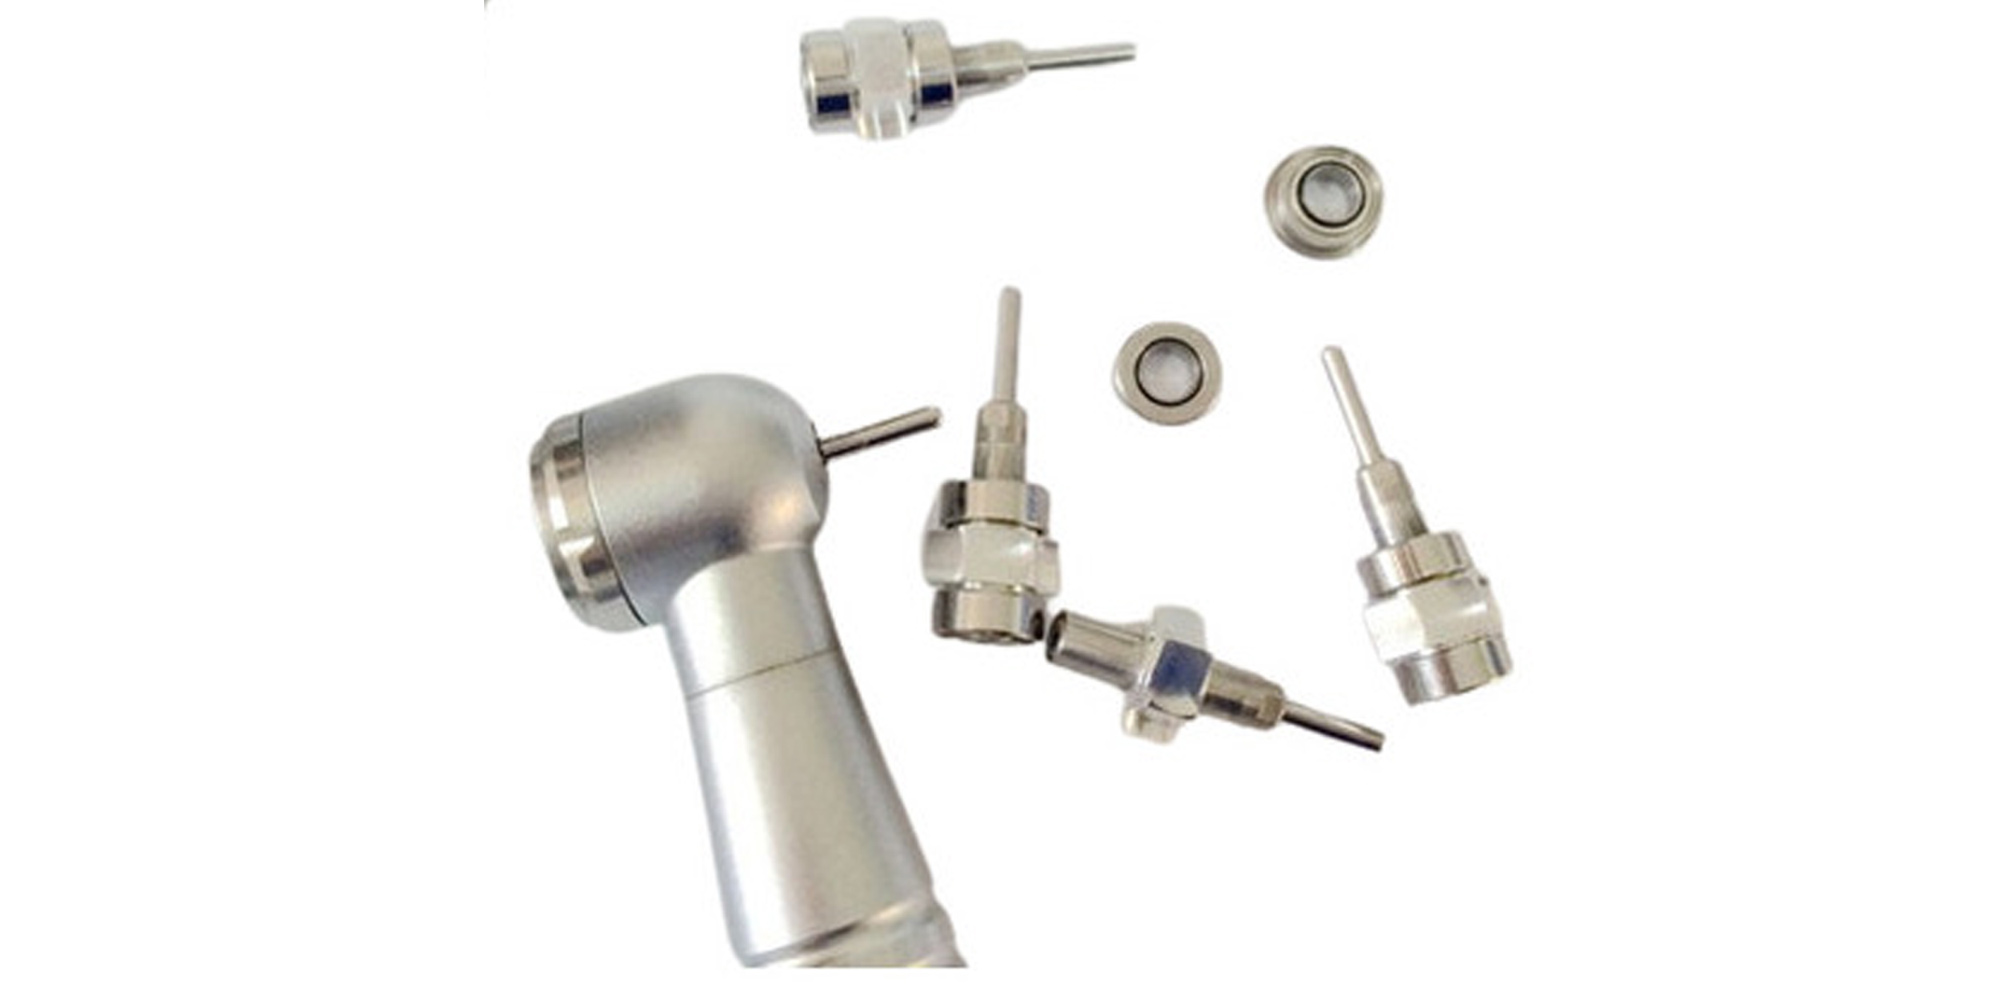
Table of Contents
Every time you pick up a dental handpiece, you are relying on a tiny but mission-critical component — the bearing. These small precision parts spin at speeds exceeding 400,000 RPM in high-speed handpieces, enduring heat, pressure, sterilization cycles, and chemical exposure every single day. When they fail, the consequences go far beyond a noisy drill.
Bearing failure is one of the most common — and most preventable — causes of dental handpiece downtime. According to industry data, up to 60% of handpiece repairs are directly linked to bearing wear or failure. Yet many dental practices don't recognize the early warning signs until significant damage has already occurred.
This comprehensive guide covers everything you need to know: what causes dental bearings to fail, how to identify the symptoms early, and — most importantly — how to prevent failure before it costs you time, money, and patient trust.
|
400,000+ RPM in high-speed handpieces |
60% of repairs linked to bearing failure |
$300–$800 average repair cost per handpiece |
3–5x longer lifespan with proper maintenance |
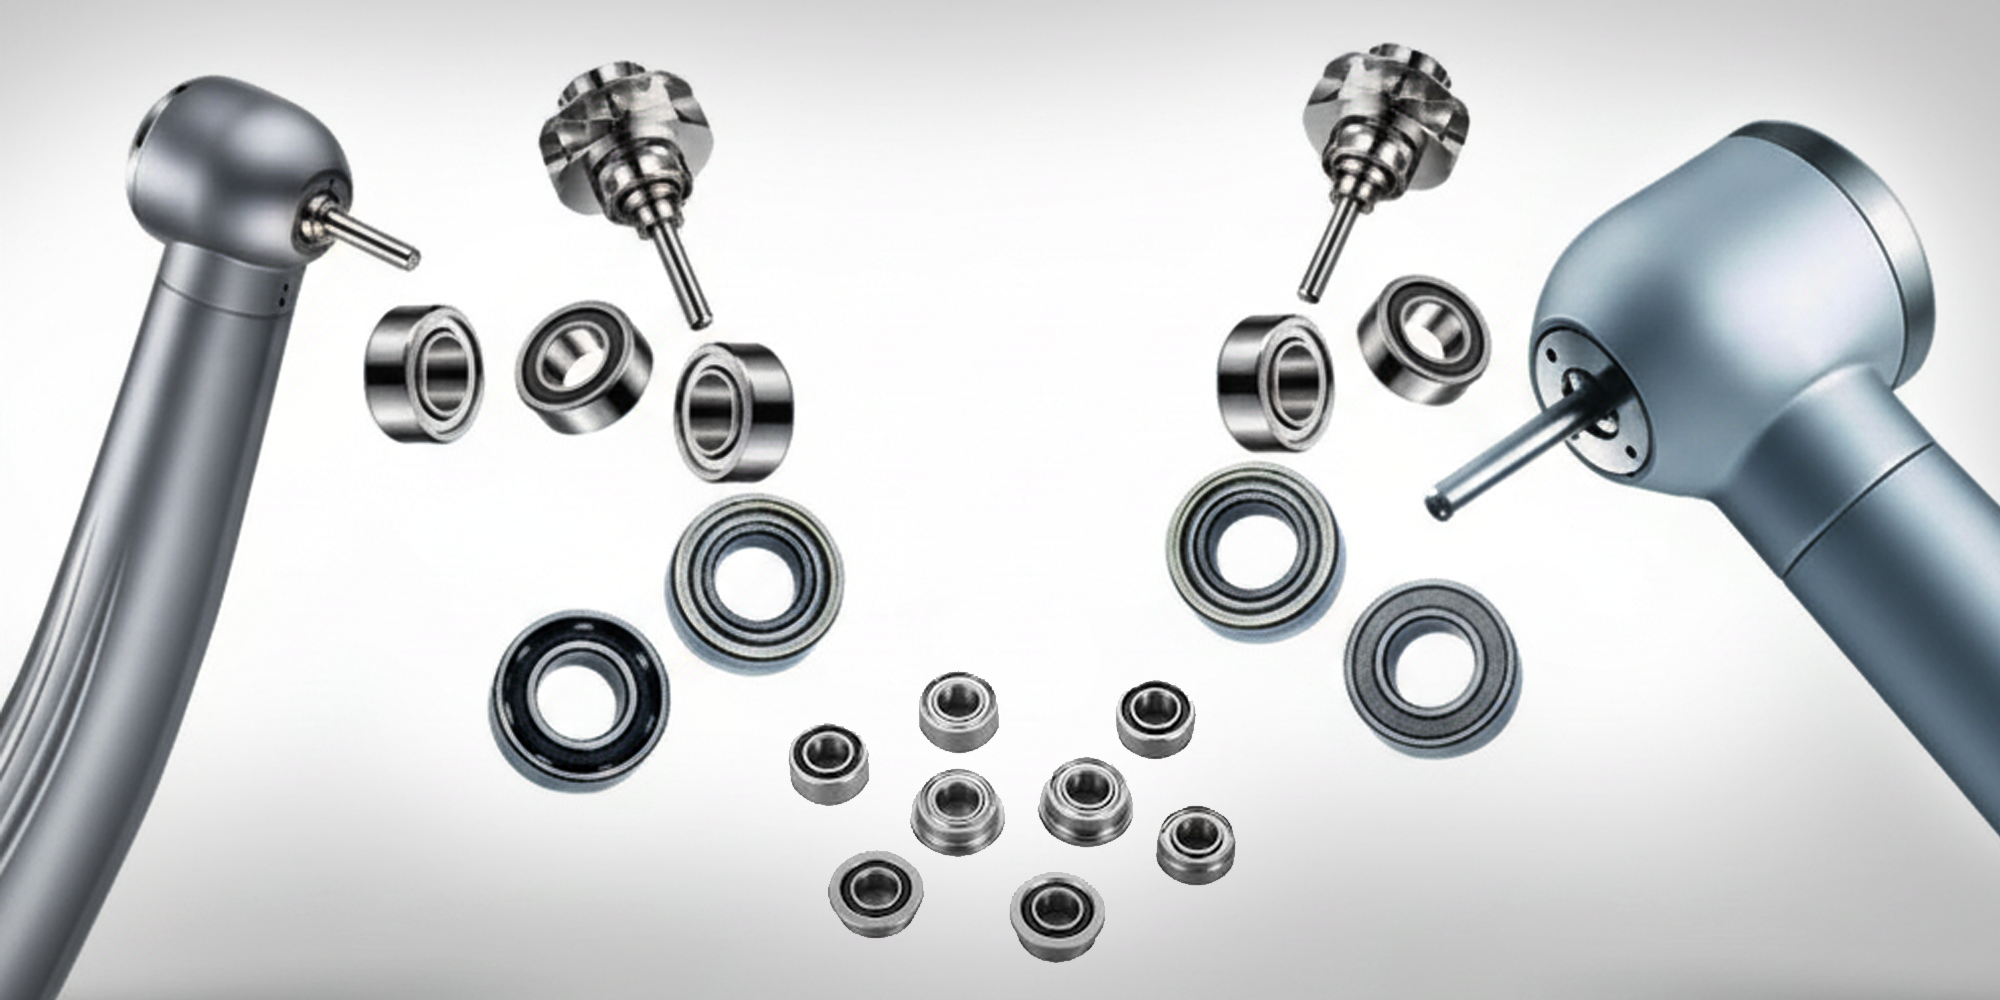
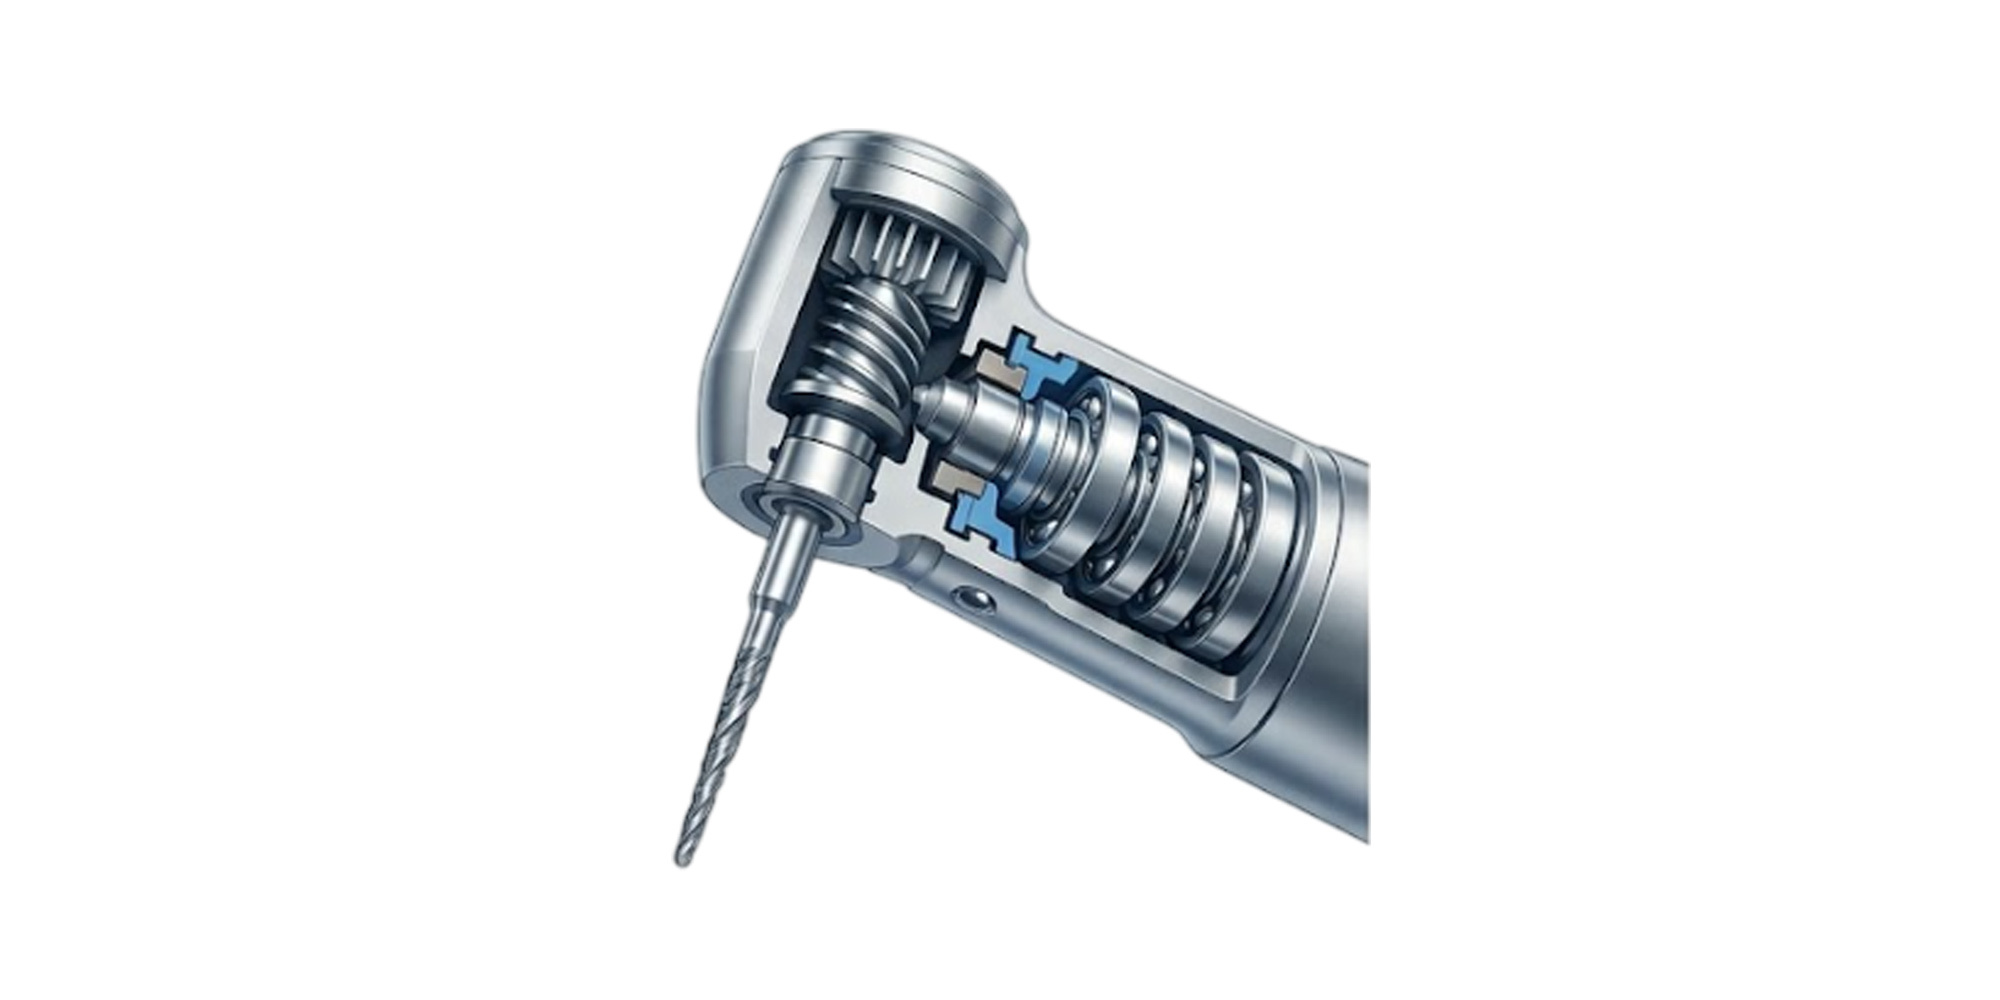
Dental handpiece bearings are precision-engineered rolling element components that support the turbine rotor inside the handpiece head. Their job is to allow the bur to spin smoothly and concentrically at extreme speeds — while absorbing radial and axial loads applied during cutting.
In a typical air-turbine high-speed handpiece, you will find two bearings: one at the top and one at the bottom of the turbine. These are typically miniature ball bearings, measuring just 3–5mm in outer diameter, but they are manufactured to tolerances tighter than a human hair.
Without properly functioning bearings:
The bur wobbles, reducing cutting precision and increasing treatment time
Vibration transfers to the patient, increasing discomfort
The turbine can seize, causing abrupt handpiece failure mid-procedure
Bur runout increases, posing a safety risk
Not all dental bearings are the same. Understanding the differences helps you make smarter purchasing and maintenance decisions.
|
Bearing Type |
Material |
Best For |
Lifespan (Est.) |
Cost Level |
|
440C Stainless Steel |
Standard high-speed handpieces |
6–18 months |
Low–Mid |
|
|
Si3N4 balls, steel races |
High-volume or precision use |
18–36 months |
Mid–High |
|
|
Full Si3N4 or ZrO2 |
Autoclave-heavy environments |
24–48 months |
High |
|
|
Lubed-for-Life Bearings |
Steel + sealed lubricant |
Low-maintenance protocols |
12–24 months |
Mid |
|
Open Bearings |
Steel (non-sealed) |
Where manual lubrication applied |
6–12 months |
Low |
Understanding the root causes of bearing failure is the first step toward preventing it. The following are the most common culprits found across dental practices worldwide.
|
Cause |
Frequency in Practice |
Damage Speed |
Preventable? |
|
Insufficient lubrication |
Very Common |
Moderate to Fast |
Yes — daily oiling protocol |
|
Moisture / water ingress |
Common |
Moderate |
Yes — purge before sterilization |
|
Excessive bur pressure |
Common |
Moderate |
Yes — technique training |
|
Chemical exposure |
Moderate |
Slow to Moderate |
Yes — use approved products only |
|
Thermal fatigue |
Moderate |
Slow (cumulative) |
Partially — use ceramic bearings |
|
Contamination |
Less Common |
Fast |
Yes — proper filtration and storage |
|
Manufacturing defects |
Rare |
Variable |
Use reputable suppliers |
The #1 cause of bearing failure. Without sufficient lubricant, metal-to-metal contact generates friction, heat, and wear at the microscopic level. Even a single missed lubrication cycle can begin to compromise bearing surfaces.
Coolant water and steam from autoclaving can displace lubricant, promote corrosion, and cause hydrogen embrittlement in steel races. Purging the handpiece before sterilization is essential.
Applying excessive lateral force on the bur creates radial loads the bearing was not designed to sustain continuously. This is particularly common during hard tissue preparation on enamel or porcelain.
Detecting bearing failure early saves you from expensive repairs — and from awkward mid-procedure failures. Train your team to recognize these warning signs immediately.
|
🚨 Critical Rule: If any of the following symptoms are present, remove the handpiece from clinical use immediately. Continued use risks patient injury. |
| Symptom | What It Indicates | Urgency Level |
|---|---|---|
| 🔊 Unusual noise (grinding, whining, squealing) | Worn or dry bearing surfaces; ball/race damage | 🔴 High — stop use |
| 📳 Increased vibration | Bearing imbalance or damaged balls; bur runout | 🔴 High — stop use |
| 🐌 Reduced rotation speed | Bearing drag; turbine inefficiency due to wear | 🟡 Moderate — monitor closely |
| 🔥 Excessive heat at head | Friction from lack of lubrication or seized race | 🔴 High — stop use |
| 💨 Air leakage around head | Seal degradation, often linked to bearing housing wear | 🟡 Moderate |
| 🔧 Bur wobble or runout | Bearing clearance exceeded; race deformation | 🔴 High — patient safety risk |
| 🪤 Bur retention issues | Turbine deformation related to bearing failure | 🔴 High — stop use |
| 😖 Patient discomfort complaints | Vibration transfer; abnormal cutting action | 🟡 Investigate immediately |
|
💡 Pro Tip: Run your handpiece at idle (no bur) and hold it gently between your fingers. A healthy bearing produces a smooth, almost inaudible hum. Any roughness or high-pitched tone is a red flag. |
Bearing failure doesn't happen overnight. It progresses through recognizable stages — and knowing each stage helps you intervene at the right time.
Microscopic surface wear begins on ball and raceway surfaces. No audible symptoms yet. Oil analysis or specialist inspection needed to detect. This is the ideal time to intervene with re-lubrication.
Lubricant film degrades or becomes contaminated. Bearing temperature rises slightly. A subtle change in tone may be noticeable to a trained ear. Regular oiling at this stage can still reverse the trend.
Pitting and spalling begin on raceway surfaces. Audible noise and vibration emerge. Speed may drop slightly. Remove from clinical use for inspection and re-bearing.
Accelerated spalling; metal debris circulates within the bearing, scoring all surfaces. Bur runout becomes measurable. Heat increases rapidly. Bur ejection risk rises.
Total bearing seizure or cage collapse. The handpiece stops abruptly or bur is released. At this stage, the turbine and housing may also be damaged — replacement of the entire head assembly may be required.
|
⚠️ Key Insight: Most practices only recognize failure at Stage 3 or 4. With a structured maintenance programme, you can catch it at Stage 1–2 and extend bearing life by 2–3x at minimal cost. |
Choosing the right bearing material is one of the most impactful decisions you can make for your handpiece longevity. Here's a comprehensive breakdown.
|
Property |
Steel (440C) |
Ceramic Hybrid (Si3N4) |
Full Ceramic |
|
Hardness (Vickers) |
~700 HV |
~1,600 HV (balls) |
~1,600 HV |
|
Weight (balls) |
Standard |
~40% lighter |
~60% lighter |
|
Corrosion resistance |
Moderate |
Excellent |
Superior |
|
Autoclave tolerance |
Good (with care) |
Excellent |
Excellent |
|
Lubrication needs |
Regular (daily) |
Reduced |
Minimal |
|
Max operating speed |
Up to 400K RPM |
Up to 500K RPM |
Up to 500K RPM |
|
Typical lifespan |
6–18 months |
18–36 months |
24–48 months |
|
Initial cost |
Low |
2–3x steel |
4–5x steel |
|
Best use case |
Low volume / budget |
Most practices |
High-volume, heavy sterilization |
|
ℹ️ Our Recommendation: For most dental practices, ceramic hybrid bearings offer the best return on investment. They run cooler, resist corrosion, and last significantly longer than standard steel bearings. |
Prevention is dramatically cheaper than repair. Here are the most impactful strategies, ranked by their effect on bearing lifespan.
Lubrication is the single most effective preventive measure. Oil should reach the bearing surfaces before and after each sterilization cycle.
Before placing handpieces in the autoclave, run them briefly (2–3 seconds) to purge water and debris from the internal channels. This prevents moisture from being baked into the bearing during the sterilization cycle.
Many common disinfectants contain alcohols, aldehydes, or oxidizing agents that attack bearing seals and lubricants. Always verify that any surface spray or immersion disinfectant is explicitly approved for dental handpieces by the manufacturer.
Avoid sustained heavy lateral pressure on the bur. This is the leading cause of premature radial bearing wear. Use intermittent cutting pressure and let the bur do the work — particularly relevant for high-speed procedures on hard enamel or porcelain.
Store handpieces in a clean, dry environment away from chemical vapors. Use capped bur protectors when not in use. Avoid storing handpieces in sterilization pouches for extended periods, as residual moisture can migrate to bearings.
Implement a structured inspection calendar. Even without visible symptoms, bearings should be assessed by a qualified handpiece technician at regular intervals.
A practical, easy-to-follow maintenance schedule reduces bearing failures by up to 70% in most practices.
|
Frequency |
Task |
Who Performs It |
Time Required |
|
After every use |
External wipe-down; purge air/water channels |
Chair-side assistant |
1–2 min |
|
Before sterilization |
Lubricate with approved oil; run briefly |
Dental assistant / nurse |
2–3 min |
|
After sterilization |
Visual inspection; check bur chuck function |
Dental assistant / nurse |
1 min |
|
Weekly |
Run-test all handpieces; listen for abnormal noise |
Lead assistant or dentist |
5–10 min |
|
Monthly |
Full inspection checklist; bur runout check; log results |
Practice manager or technician |
15–20 min |
|
Every 6 months |
Professional service; bearing assessment; lube flush |
Qualified handpiece technician |
Per handpiece |
|
Annually |
Full overhaul; bearing replacement if indicated |
Qualified handpiece technician |
Per handpiece |
One of the most common questions dental practice managers face is whether to repair a failing handpiece or invest in replacement. The answer depends on several factors.
|
Scenario |
Recommended Action |
Typical Cost |
|
Early bearing wear, no structural damage |
Re-bearing service |
$50–$150 |
|
Bearing failure + minor turbine wear |
Full turbine replacement |
$120–$280 |
|
Bearing failure + head housing damage |
Full service or new head |
$250–$450 |
|
Handpiece over 5 years old, multiple failures |
Replacement (better ROI) |
$350–$900 new |
|
Catastrophic failure with internal damage |
Replacement |
$350–$900 new |
|
Repair cost > 60% of new handpiece cost |
Replace — better long-term value |
New unit cost |
|
💡 The 60% Rule: If the estimated repair cost exceeds 60% of the price of a comparable new handpiece, replacement almost always delivers better long-term value — factoring in downtime, labor, and the risk of recurring failures. |
With proper maintenance, steel bearings typically last 6–18 months; ceramic hybrid bearings can last 18–36 months. High-volume practices and those with rigorous autoclaving schedules may see shorter lifespans without a strict lubrication protocol.
Daily lubrication with spray oil is absolutely a front-desk and chairside task — it requires no technical skill, just consistency. However, deep maintenance, re-bearing, and formal inspections should be performed by a qualified handpiece technician.
The most common culprits are: using the wrong lubricant, oiling at the wrong time in the sterilization cycle (oil must be applied before autoclaving, not after), or applying too much oil and not running the unit to distribute it. Also check whether your autoclave temperature and cycle length are within the handpiece manufacturer's specifications.
For most practices, yes. Although ceramic hybrid bearings cost 2–3× more upfront, their extended lifespan and lower maintenance demands typically result in a lower cost per month. They are especially worthwhile in high-volume practices or environments with frequent autoclaving.
Bur runout refers to the lateral deviation of the bur tip from the true rotational axis — essentially, how much the bur "wobbles." It is measured in micrometers using a dial indicator or laser measurement system. ISO standards specify maximum allowable runout for dental handpieces. Increased runout is a direct indicator of bearing wear.
Dirty or wet compressed air is a significant contributor to bearing failure. Install a quality air filter/dryer on your dental unit and check it monthly. Air pressure should also be set within the handpiece manufacturer's recommended range — both over- and under-pressure cause accelerated wear.
Dental bearing failure is not inevitable — it is almost always the result of inadequate lubrication, inappropriate sterilization practices, or delayed maintenance. The good news is that every one of these factors is within your control.
By understanding the causes, recognizing early symptoms, and implementing a consistent maintenance schedule, you can dramatically extend the life of your handpiece bearings, reduce repair costs, and deliver a smoother, more precise clinical experience for your patients.
Key takeaways:
Lubrication before every sterilization cycle is non-negotiable
Ceramic hybrid bearings offer the best balance of performance and longevity for most practices
Unusual noise, vibration, or heat are emergency signals — stop using the handpiece immediately
A six-monthly professional service pays for itself many times over in prevented failures
Apply the 60% rule when deciding whether to repair or replace
Why Bearing Grade Is the Most Overlooked Factor in Handpiece Selection When dental clinics evaluate handpieces, they focus on brand reputation,...
Dental bearings are precision-engineered components inside high-speed dental handpieces that reduce friction and ensure smooth operation. Choosing...
Dental bearings are used in dental handpieces, which are tools dentists use for various procedures. These bearings help the handpieces spin smoothly...