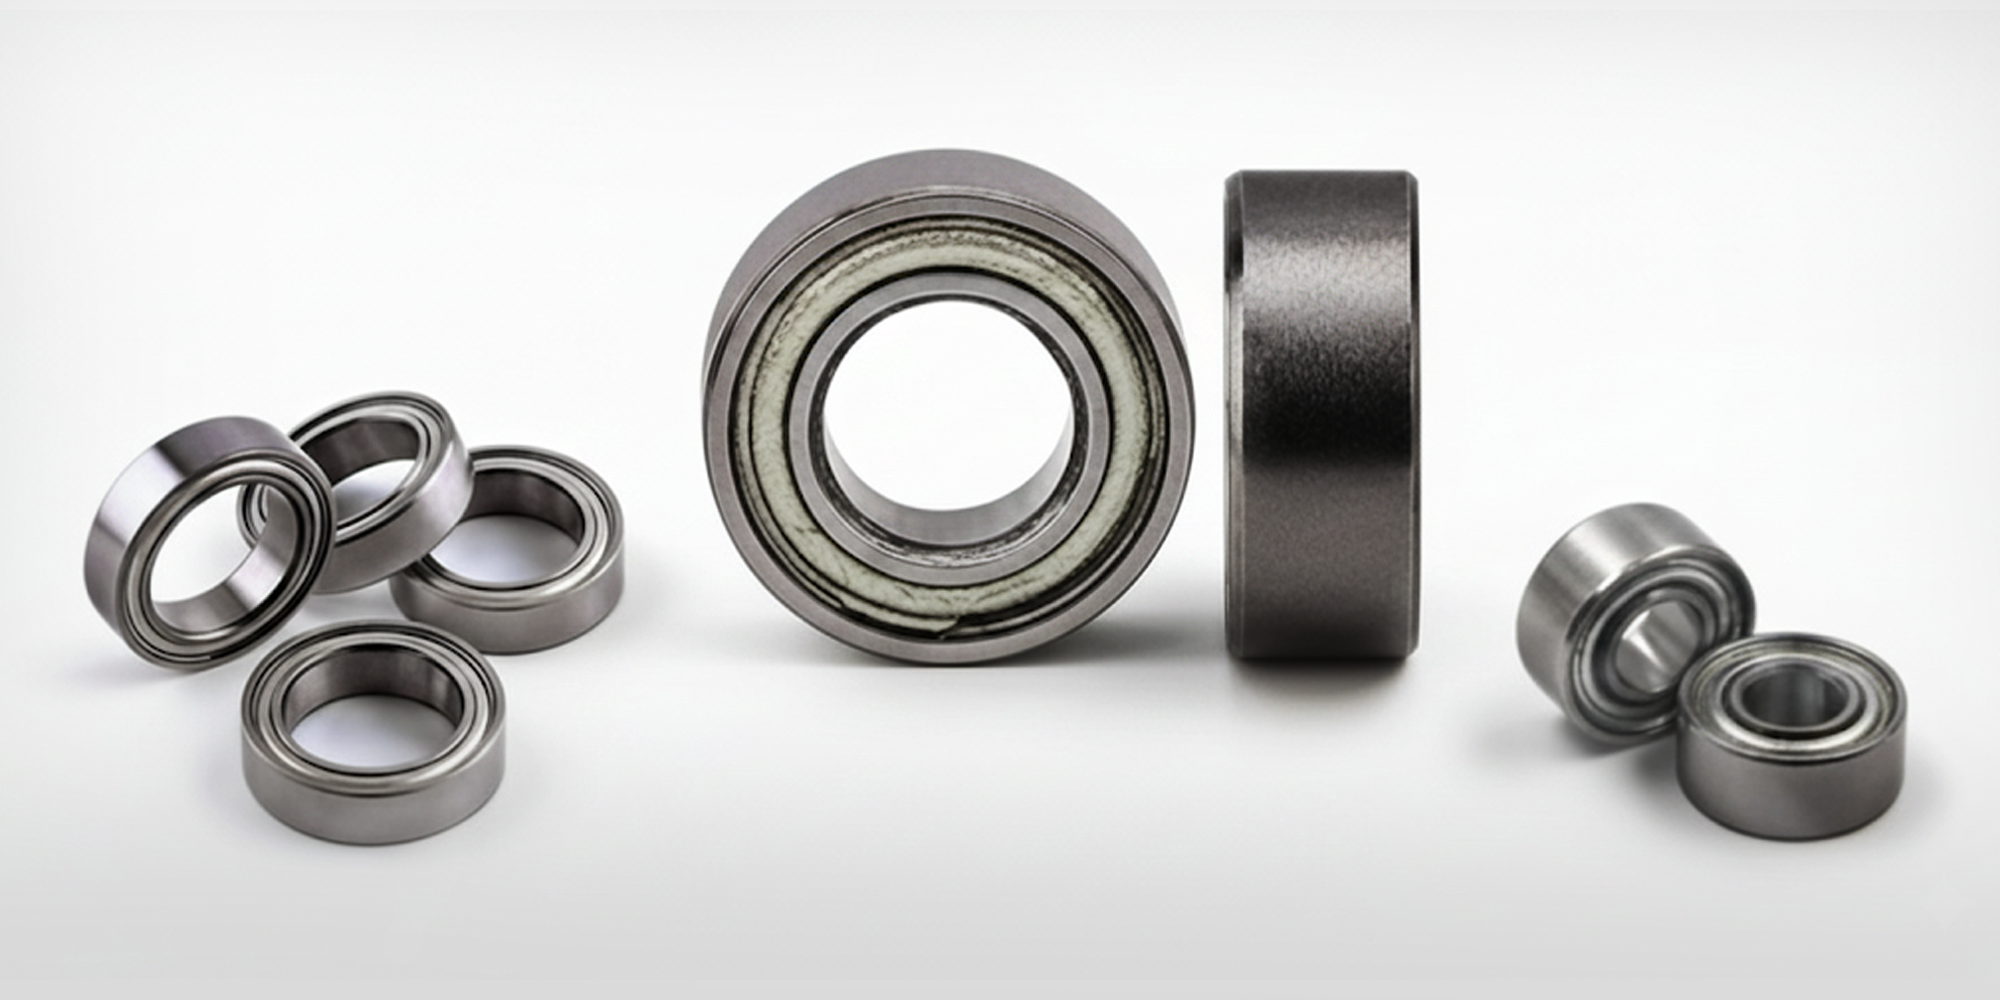
How To Remove And Install Rc Car Ball Bearings
RC car enthusiasts know that ball bearings are essential for smooth performance and long-lasting durability of their vehicles. Proper maintenance,...
Rear wheel bearing is one of the most important key parts of BMX bikes, constant concern of bicycle design and manufacturing personnel.
Facing of the design requirements and the changes in environmental conditions, the rear wheel bearing must be kept high reliability.
Bad bearing will cause noise, have a huge impact on the operation of MBX biking, the last direct impact on competition results.
How to replace the rear wheel bearing is a very important course.
The article describes how to replace the rear wheel bearings in a MBX.
Remove the rear cog from the wheel (the wheel will need to be off the bike).
For cog removal, insert a proper-size freewheel removal tool through the center of the cog.
Holding the cog in place with the chain portion of a chain whip, use an adjustable wrench to turn the removal tool counterclockwise. This will free the cog.
Place the wheel over a light-colored towel or rag to catch any small parts that might fall during the following procedures.
Place a 15mm cone wrench onto the left-side, or non-drive-side, axle cone of the wheel and turn the accompanying locknut counterclockwise with a proper-size wrench.
The locknut will be located practically at the tip of the axle. The cone will be directly beside Deep Groove Ball Bearings.
Unthread the loosened locknut and cone, and slide the axle from the other end of the wheel.
Remove the bearings (which will be exposed by the removal of the axle) from both sides of the wheel.
Be sure and count how many bearing balls you remove from each side. The exact same number must go back in.
Clean the axle of old grease and grime on Needle Roller Bearings. An old shop towel will work fine.
Apply a layer of grease inside each bearing race. This is the "shelf" just inside the hub on which the bearings sit.
Insert your bearings into each bearing race. Your new bearings will need to be the same size (and number) as your old bearings.
Cover the new Stainless Steel Bearings with a second layer of grease. Apply further grease to the axle, coating it generously.
Slide the axle back through the right side (the drive side) of the wheel. Do this carefully so you don't disrupt the bearings.
Thread the left side cone and locknut (in this order) back onto the end of the axle. Use only your fingers for this process.
Place the cone wrench onto the cone and your other wrench onto the locknut. Turn the locknut clockwise against the cone to tighten.
The wheel should spin freely, without binding.
If the wheel binds, loosen the locknut. If there is side-to-side play in the hub, continue tightening the locknut.
Fit your cog back onto the freewheel.
Tighten the cog in place by first inserting the freewheel removal tool once again into the center of the cog, then turning the free-hub tool clockwise with the adjustable wrench.
Regardless of the front wheel, or damage to the rear wheel bearing balls, will result in a significant security risk, life-threatening, are important relative to their own lives, to learn how to replace the rear wheel bearings also become compulsory for motocross riders.
RC car enthusiasts know that ball bearings are essential for smooth performance and long-lasting durability of their vehicles. Proper maintenance,...
Choosing reliable bearing suppliers is key to ensuring your machinery works well. It also helps extend the life of your equipment by reducing repairs...
Alternator bearings are critical components that allow the alternator rotor to spin smoothly, ensuring stable power generation for your car’s...